7 Easy Steps to Wash Car Mats Like a Pro
Keeping your car mats clean can feel like a never-ending battle. If you find yourself frustrated with stubborn dirt and grime that just won’t budge, you’re not alone. Many people struggle to get their mats looking fresh and new without spending hours or using harsh chemicals.
To wash your car mats like a pro, start by removing and shaking them to dislodge dirt. Vacuum thoroughly, then choose the right cleaner based on the mat material—rubber, carpet, or vinyl.
Apply the cleaner, scrub in circular motions, and rinse well. Lay mats flat to dry before reinstalling them. Don’t forget to freshen the interior with an odor eliminator!
Following these steps makes a difference, and you’ll uncover more tips for long-term maintenance.
Key Takeaways
- Remove mats from your vehicle, vacuum thoroughly, and inspect for damage before cleaning.
- Choose the appropriate cleaning solution based on mat material, whether rubber, carpet, or vinyl.
- Apply cleaner, scrub with a brush in circular motions, and rinse thoroughly to remove dirt and soap.
- Lay mats flat in a shaded area to dry. Use a fan if necessary for faster drying.
- Establish a regular maintenance schedule, including weekly vacuuming and monthly deep cleaning for long-lasting results.
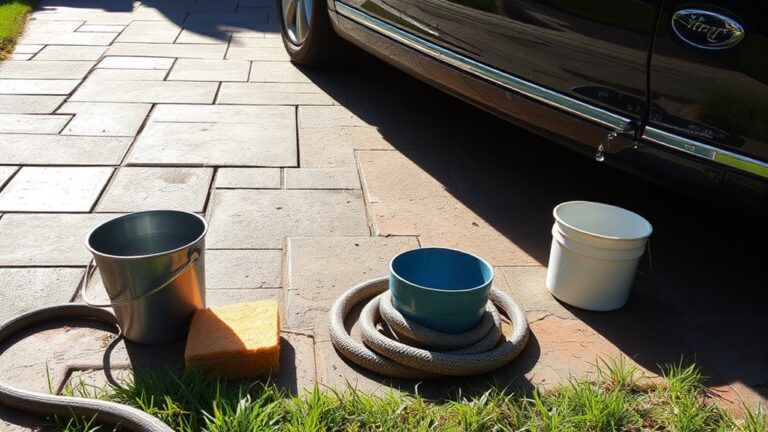
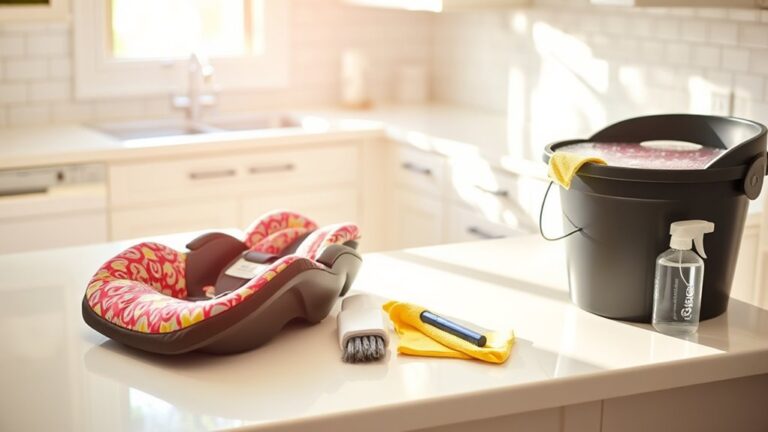
Essential Supplies for Cleaning Your Car Mats
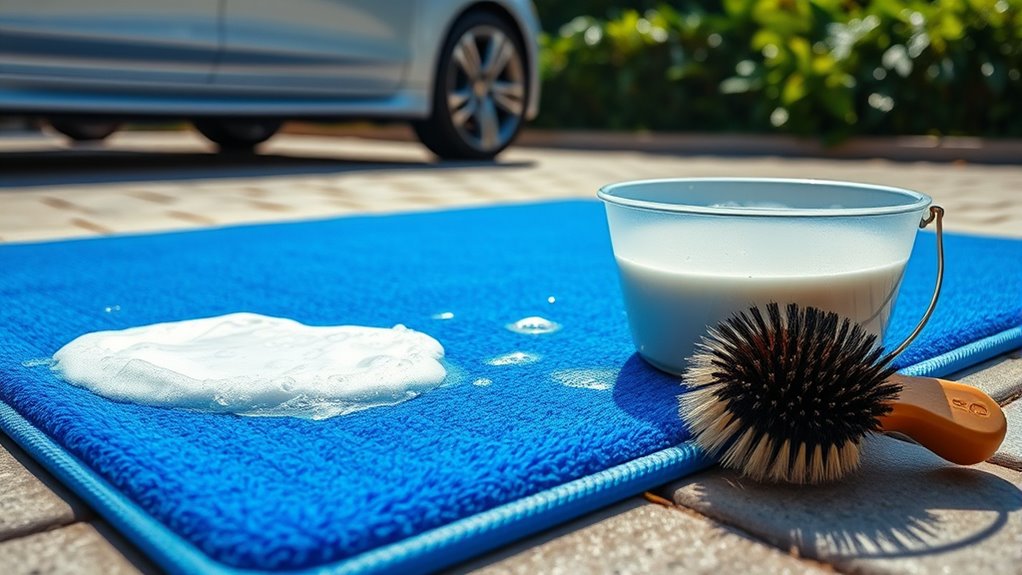
Cleaning your car mats effectively requires the right supplies. Start by gathering essential cleaning tools, which include a vacuum cleaner, a stiff brush, and a bucket. Depending on your mat materials, like rubber, carpet, or vinyl, select appropriate cleaners.
Cleaning your car mats starts with the right supplies: a vacuum, stiff brush, bucket, and suitable cleaners for each material.
For rubber mats, a simple soap and water solution works wonders. Carpet mats might need a specialized cleaner to tackle stains.
Don’t forget a microfiber cloth for drying and a spray bottle for easier application of cleaning solutions. If your mats are heavily soiled, consider a power washer for a deeper clean.
Having these supplies on hand not only makes the process easier but guarantees your mats stay in top shape. With the right tools, you’ll remove dirt and grime effectively and prolong the life of your car mats. Equip yourself with the essentials, and you’ll be ready to tackle any mess!
Remove Car Mats and Shake Off Debris
Now that you’ve gathered your cleaning supplies, it’s time to tackle those car mats. Start by carefully removing the mats from your vehicle. This step not only makes cleaning easier but also lets you inspect for any damage. Once you have them out, give each mat a good shake to dislodge loose dirt and debris.
Here’s how to proceed:
- Vacuum Mats: Use a vacuum cleaner to thoroughly remove dirt, dust, and crumbs from the mats. Focus on the edges and crevices where debris tends to accumulate.
- Inspect Damage: While vacuuming, take a moment to check for any rips, tears, or excessive wear that might need attention.
- Shake Off Excess: After vacuuming, give the mats another shake outside to make sure no stubborn debris remains.
With this step complete, you’re ready for the next phase of cleaning!
Choosing the Best Cleaning Solution for Different Mat Types
When it comes to cleaning your car mats, picking the right solution is super important. Rubber, carpet, and vinyl mats all need different products to get the best results. So, let’s dive into the best cleaning options for each type to keep your mats looking fresh and clean.
Rubber Mat Solutions
Choosing the right cleaning solution for rubber mats can make a big difference in how long they last and how good they look. Whether you have custom rubber mats or standard ones, using the right product is key.
Here are three effective cleaning solutions:
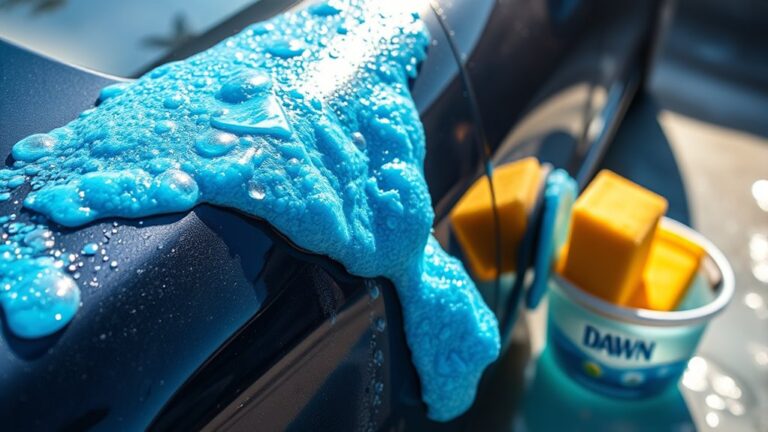
- Mild Soap and Water: Mix dish soap with warm water for a gentle clean that’s safe for most rubber mats.
- Vinegar Solution: Combine equal parts vinegar and water for a natural, eco-friendly option that removes tough stains and odors.
- Commercial Rubber Cleaners: Look for specialized cleaners designed for rubber mats, making sure they don’t have harsh chemicals.
With these options, you can keep your mats looking great while being mindful of the environment. Choose what works best for you!
Carpet Mat Cleaners
While maintaining your carpet mats, selecting the right cleaning solution is essential for preserving their appearance and longevity. Different car mat types require specific cleaners to effectively tackle dirt and stains. For standard nylon or polyester mats, a gentle carpet cleaner works well, while for heavier stains, you might need a more robust formula.
Consider your cleaning frequency, too. If you vacuum your mats regularly, a mild detergent will suffice. However, if you tend to let dirt build up, opt for a specialized cleaner that can penetrate deeper. Always check the manufacturer’s recommendations to avoid damage. By choosing the right solution, you’ll keep your carpet mats looking fresh and new for longer.
Vinyl Mat Options
Carpet mats require specific cleaners, but vinyl mats have their own set of considerations. When choosing a cleaning solution for your vinyl mats, focus on these key factors:
- Vinyl Durability: Opt for a cleaner designed for vinyl surfaces. Avoid harsh chemicals that can damage the material.
- Color Options: Consider your mat’s color. Some cleaners may cause fading, so choose a solution that’s safe for your specific shade.
- Ease of Use: Select a cleaner that’s easy to apply and rinse off, making your cleaning process quick and efficient.
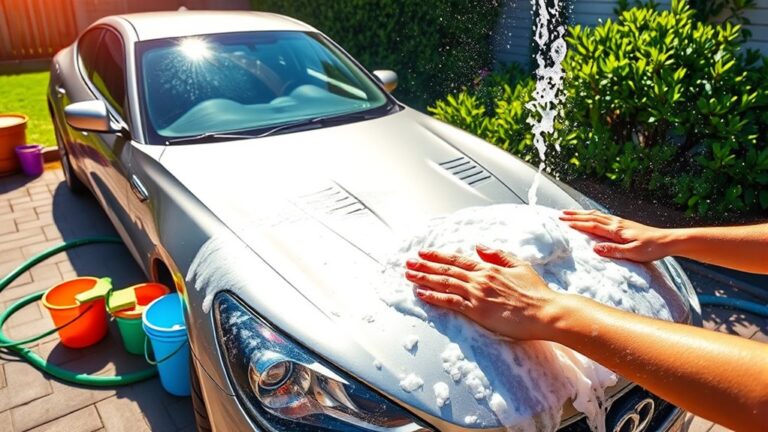
Scrub Stains and Dirt From Your Mats
Grab a scrub brush and get ready to tackle those stubborn stains and dirt on your car mats. Start by shaking out any loose debris, then apply a suitable cleaner designed for your mat material. For effective stain removal, focus on one section at a time.
Using your scrub brush, apply firm pressure as you work the cleaner into the stains. Circular motions help lift dirt and grime, making it easier to extract. Don’t forget to pay extra attention to high-traffic areas, where dirt tends to accumulate.
For persistent stains, you might need to repeat this process a couple of times. Rinse your brush occasionally to avoid spreading dirt back onto the mats. Once you’ve scrubbed away all the grime, you’ll notice a significant difference in the appearance of your mats.
With patience and effort, you’ll achieve effective dirt extraction, leaving your car mats looking fresh and clean.
Rinsing and Drying Your Mats
After thoroughly scrubbing your mats, it’s time to rinse away the cleaner and any remaining dirt. Using effective rinsing techniques guarantees your mats come out fresh and clean. Start by taking them outside to a well-drained area. Here’s how to rinse and dry like a pro:
- Use a Hose: Spray your mats with a hose, focusing on corners and crevices to guarantee all soap and dirt are removed.
- Check for Residue: Inspect your mats for any leftover cleaner; repeat rinsing if necessary.
- Shake Off Excess Water: Give your mats a good shake to remove excess water before drying.
For drying methods, lay the mats flat in a shaded area to prevent sun damage. If it’s humid, use a fan to speed up the drying process. This way, your mats will be ready for reinstalling in no time!
Reinstalling Your Clean Mats and Refreshing Your Interior
Once your mats are clean and dry, take a moment to check them over for any damage before putting them back in. While you’re at it, why not organize any interior accessories so everything looks neat and tidy? You can also freshen up your car’s scent to give it that welcoming feel. A clean, inviting space really can make every drive more enjoyable.
Inspect Mats Before Reinstalling
Before reinstalling your freshly cleaned mats, take a moment to inspect them thoroughly. This step is essential to guarantee your mats are in good condition and ready for use. Here’s what to check:
- Wear and Tear: Look for any frayed edges or significant damage that might compromise their effectiveness.
- Stains and Odors: Verify that there are no lingering stains or unpleasant smells that could affect your car’s interior.
- Fit and Alignment: Confirm that your mats fit properly in your vehicle, allowing them to stay in place during driving.
Regular cleaning frequency plays a key role in maintaining your mats’ condition, so always keep an eye on them. A quick inspection can save you from future hassles and keep your car looking sharp!
Organize Interior Accessories Neatly
As you reinstall your clean mats, take the opportunity to organize your interior accessories neatly. Start by removing any clutter from your dashboard and console.
Use organizing tools like small bins or pouches to keep items like sunglasses, chargers, and pens in one place. Invest in interior storage solutions that fit your vehicle’s layout. Consider under-seat organizers or seatback pockets to maximize space.
Make sure everything is easily accessible, so you’re not digging around when you need something. Finally, consider grouping similar items together; this way, you’ll find what you need quickly.
Freshen Up Car Scent
Reinstalling your freshly cleaned car mats is the perfect time to give your interior a revitalizing scent boost. To improve your car fragrance and eliminate any lingering odors, consider these simple steps:
- Use Odor Eliminators: Spray a quality odor eliminator on your mats before reinstalling them. This helps neutralize any stubborn smells.
- Add Scented Air Fresheners: Hang or place air fresheners in your car. Choose scents that complement your preferences and create an invigorating atmosphere.
- Ventilate Your Interior: Open the windows for a few minutes after installation. This lets fresh air circulate and improves the overall scent even more.
Tips for Long-Term Maintenance of Clean Car Mats
To keep your car mats looking fresh and clean, regular maintenance is essential. Start by choosing mats made from durable materials like rubber or high-quality carpet, which resist dirt and stains. Applying protective coatings can further extend their lifespan and make it easier to clean up spills.
You can follow this simple maintenance schedule:
| Task | Frequency |
|---|---|
| Vacuuming | Weekly |
| Deep Cleaning | Monthly |
| Protective Coating | Every 3 months |
| Spot Cleaning | As needed |
| Replacement | Every 1-2 years |
Frequently Asked Questions
How Often Should I Clean My Car Mats?
You should clean your car mats at least once a month, but adjust that based on your cleaning frequency and material considerations. If you’ve got fabric mats, they might need more frequent attention, especially during muddy or snowy seasons.
For rubber mats, a quick rinse often suffices. Don’t forget seasonal maintenance; deep clean them after heavy use. And when stains happen, tackle them right away to keep your mats looking fresh.
Can I Use Bleach on My Car Mats?
Using bleach on your car mats is like tossing a match into a dry forest; it can do more harm than good. While it fights mold growth, it can also damage the material, leaving it brittle and faded.
Instead, focus on regular cleaning to prevent any buildup. Aim for a wash every few weeks, keeping your mats fresh and vibrant while steering clear of harsh chemicals that might ruin them.
What if My Mats Have a Strong Odor?
If your mats have a strong odor, start with odor removal techniques. First, shake out any debris and vacuum thoroughly. Then, mix a solution of warm water and mild detergent for deep cleaning.
Scrub the mats with a brush to lift any trapped odors. Rinse well and let them dry completely in the sun. You can also sprinkle baking soda on them overnight to absorb lingering smells before vacuuming it up.
Are There Eco-Friendly Cleaning Solutions Available?
Regarding cleaning, “you reap what you sow.” Yes, there are plenty of eco-friendly cleaning solutions available! You can investigate natural alternatives like vinegar and baking soda for effective cleaning.
Homemade solutions, such as a mix of lemon juice and water, work wonders too. These options not only tackle odors but also keep your car mats fresh without harming the environment. Give them a try, and feel good about your choices!
How Do I Prevent Mold on My Car Mats?
To prevent mold on your car mats, it’s essential to keep them dry. After cleaning, make sure you dry the mats thoroughly before putting them back in your car. You can also use mold prevention sprays designed for car interiors.
Regularly vacuuming and airing out your mats helps too. If you notice moisture buildup, remove and dry the mats immediately to avoid mold growth. Keeping your mats dry is key!
Conclusion
Now that you know how to wash your car mats like a pro, keep that fresh, clean vibe rolling. Regular maintenance is the key to longevity, like watering a plant to keep it thriving.
By following these easy steps, you’ll not only improve your car’s interior but also enjoy a more pleasant ride. So, grab your supplies and give those mats some love.
A little effort goes a long way in maintaining your car’s charm and mastering how to wash your car mats like a pro!