How to Use Gold Class Car Wash With a Foam Gun
If you’ve ever struggled to get that perfect, showroom shine on your car, you’re not alone. Many people find washing their vehicle a tedious chore that doesn’t always deliver the results they want.
Whether it’s streaks, spots, or uneven coverage, achieving a flawless finish can be frustrating.
To use Gold Class Car Wash with a foam gun, start by mixing one part soap to four parts water for thick foam. Rinse your vehicle first, then apply the foam from the top down, overlapping for even coverage.
Let it sit for 5 to 10 minutes before rinsing thoroughly from the roof down to avoid streaks.
Dry your car with a microfiber towel using a patting method. Stick around to uncover more tips for the best shine!
Key Takeaways
- Mix Gold Class soap at a ratio of 1 part soap to 4 parts water for optimal foam thickness in your foam gun.
- Rinse the vehicle to remove loose dirt before applying foam, and work in a shaded area to prevent soap from drying quickly.
- Hold the foam gun 18 inches from the surface, applying foam from top to bottom with overlapping passes for even coverage.
- Rinse the vehicle from the roof down, ensuring all foam is removed to prevent streaks before drying.
- Use a microfiber towel to pat dry the vehicle for a streak-free finish. Maintain shine with regular washes and wax applications.
Why Use Gold Class Car Wash With a Foam Gun?
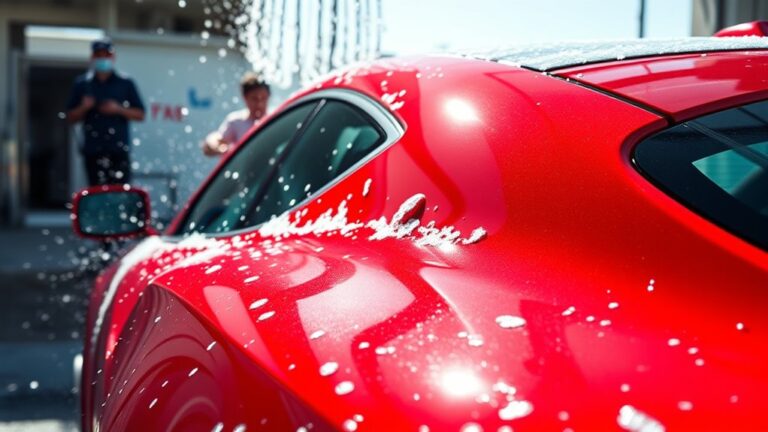
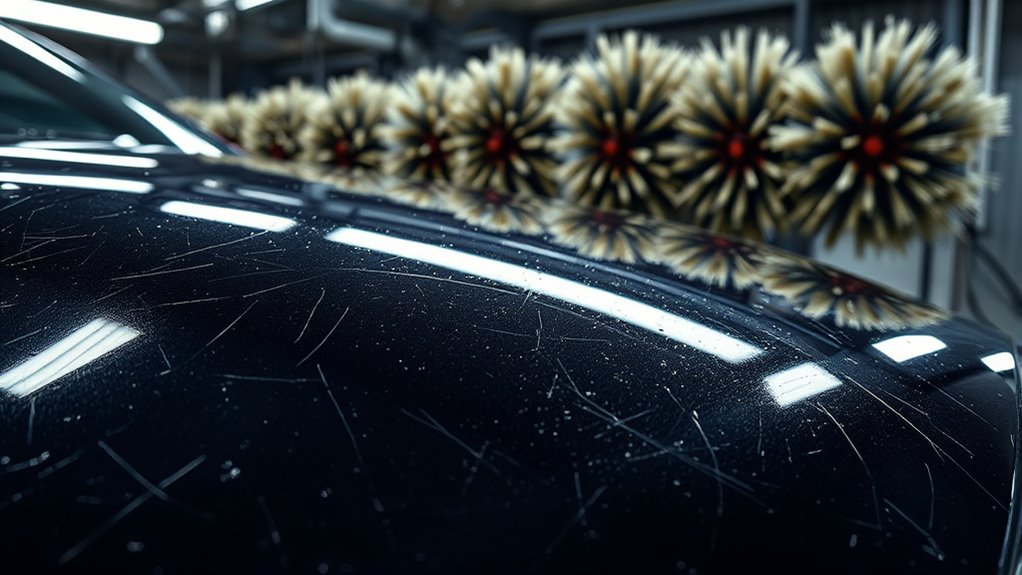
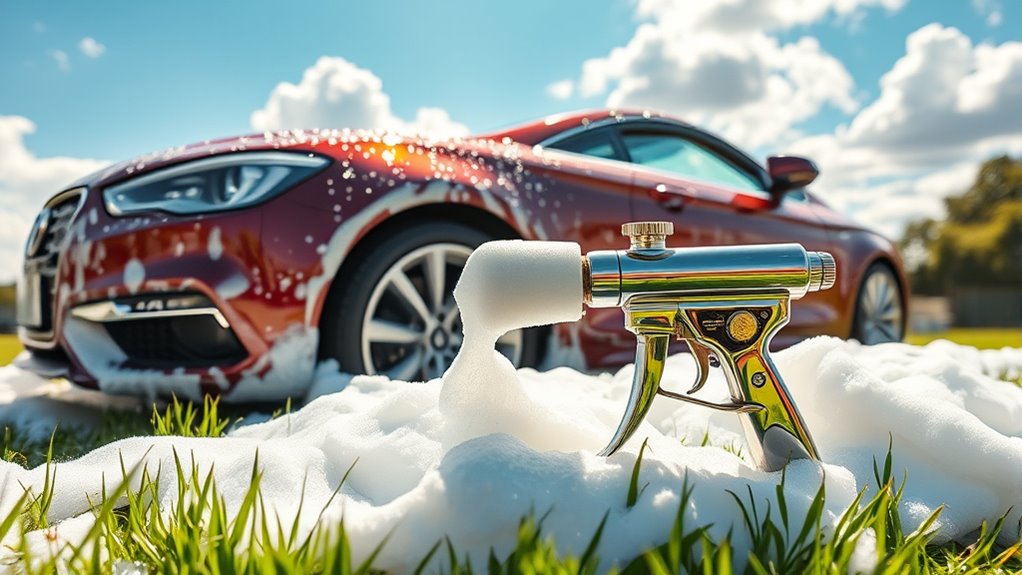
When you want an effective way to wash your car, using Gold Class Car Wash with a foam gun is a game changer. The foam gun advantages are clear: it creates a thick, rich foam that clings to your vehicle’s surface, lifting dirt and grime more efficiently than traditional methods. This means you don’t have to scrub as hard, reducing the risk of scratches on your paint.
Gold Class benefits improve your wash experience even further. Its premium formula not only cleans but also adds a layer of shine, making your car look brand new. Plus, it’s easy to use. Just mix the car wash with water in the foam gun, and you’re ready to go. The combination of a foam gun and Gold Class Car Wash guarantees a thorough, gentle wash that saves you time and effort. You’ll love how your car looks and feels after this powerful cleaning duo!
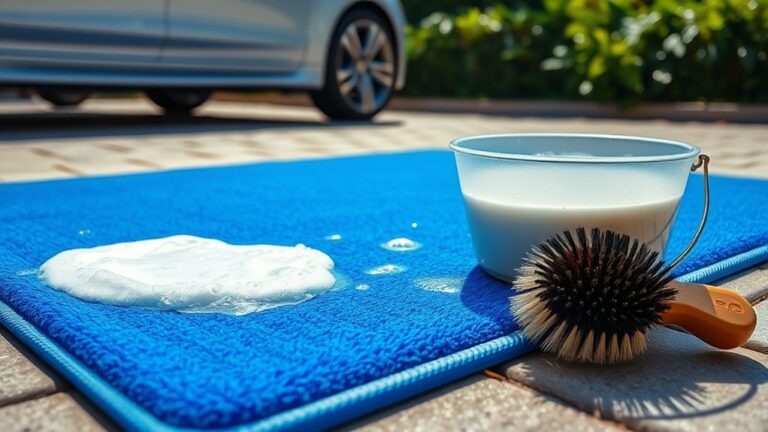
Essential Tools for the Perfect Wash
To get that perfect wash, you’ve got to have the right tools ready. A foam gun, for example, can really change the game—it makes cleaning your car not just easier, but way more enjoyable.
And it’s not just about the foam gun. Having all your essential washing supplies within reach means you’ll always get top-notch results, every single time.
Foam Gun Basics
A foam gun is an essential tool for achieving a spotless car wash, transforming your cleaning routine into a highly effective process. There are various foam gun types available, including adjustable models that let you control the foam thickness.
Choosing the right one can make a significant difference in your washing experience.
To maintain your foam gun, regularly clean it after each use. Rinse it thoroughly to prevent soap residue buildup, which can clog the nozzle.
Inspect the seals and connections for wear, replacing any damaged parts to guarantee peak performance.
Essential Washing Supplies
Having the right tools can elevate your car wash from a simple chore to a satisfying experience. To achieve the best results, consider these essential supplies that complement your washing techniques and product recommendations:
- Microfiber Wash Mitt gently lifts dirt without scratching your paint.
- Two-Bucket System helps prevent swirl marks by separating clean water from dirty rinse water.
- Quality Hose with Nozzle guarantees even water distribution and easy rinsing.
- Chamois or Drying Towel absorbs water efficiently, leaving your car streak-free.
With these tools, you’ll streamline the washing process and achieve a showroom shine. So, gather your supplies and enjoy the satisfaction of a well-washed vehicle!
Preparing Your Vehicle for a Foam Wash
Before you start your foam wash, make sure to clear any debris from your vehicle’s surface—this helps prevent scratches. It’s a good idea to give your car a quick rinse with water too; this will wash away loose dirt and get the paint ready for a deeper clean. And one more thing—try to pick a shady spot to wash your car. This way, the soap won’t dry too quickly, which means you’ll get a better wash overall.
Clear Debris From Surface
Start by giving your vehicle a thorough inspection to identify any loose dirt, leaves, or debris on the surface. This step is essential for effective foam washing and protecting your vehicle’s finish.
Here are some effective debris removal techniques to take into account:
- Use a Soft Brush: Gently sweep away debris without scratching the surface.
- Microfiber Towels: Wipe down areas with stubborn dirt for a gentle touch.
- Air Blower: Utilize compressed air to dislodge leaves or dirt in hard-to-reach spots.
- Detailing Tools: Invest in specialized tools for intricate areas, ensuring thorough cleaning.
Rinse With Water First
Rinsing your vehicle with water before applying foam is an essential step in the car wash process. This initial rinse helps remove loose dirt and debris, ensuring a more effective foam application. For the best results, consider using warm water, as it can help break down grime more effectively.
Here are some rinse techniques to keep in mind:
| Technique | Description | Benefits |
|---|---|---|
| High-Pressure | Use a pressure washer for thoroughness | Removes stubborn dirt |
| Hose Rinse | Simple and effective | Great for light dirt |
| Spot Rinse | Focus on heavily soiled areas | Saves time and water |
Choose Ideal Location
Where you choose to wash your car can make a big difference in how effective the foam application is. Picking the right spot means thinking about a few location factors and outdoor conditions that could affect your foam wash experience.
Here are some key points to keep in mind:
- Shade: Avoid direct sunlight because it can cause the foam to dry too quickly.
- Flat Surface: Choose a level area to ensure even foam application and proper drainage.
- Wind Protection: Find a sheltered spot to stop the wind from blowing the foam away.
- Accessibility: Make sure your chosen location has easy access to water and power for the foam gun.
What Is the Ideal Soap-to-Water Ratio?
To achieve a thorough and effective clean when using Gold Class Car Wash, knowing the ideal soap-to-water ratio is essential. For the best results, mix one part soap to about four parts water.
This ratio works well for most foam guns and helps create a rich foam thickness that clings to your vehicle’s surface, breaking down dirt and grime.
Using Your Foam Gun Like a Pro
To get the most out of your foam gun, start by choosing the right nozzle for your setup. It really makes a difference in how the foam comes out. Next, make sure you mix your soap properly—that way, you’ll get a thick, bubbly lather that sticks to your car’s surface. And finally, apply it evenly so every inch of your vehicle gets that ultimate wash. Easy, right?
Choose The Right Nozzle
Choosing the right nozzle for your foam gun is essential if you want to achieve a thick, even layer of soap on your vehicle. Different nozzle types create various spray patterns, impacting how well the foam clings to your car.
Here’s what to take into account:
- Adjustable Nozzle: Offers versatility in spray patterns, letting you customize the foam application.
- Fan Nozzle: Provides a wide spray, perfect for covering large areas quickly.
- Cone Nozzle: Concentrates foam in a narrow stream, great for targeted cleaning.
- Foam Cannon Nozzle: Produces thick, rich foam, ideal for a professional finish.
Experiment with these nozzle types to find the perfect spray pattern that suits your washing style!
Mix Soap Properly
Once you’ve selected the right nozzle for your foam gun, the next step is mixing the soap properly. The goal here is to achieve the right soap concentration for ideal foaming.
Here are some effective mixing techniques to keep in mind:
| Technique | Description |
|---|---|
| Pre-Mix | Mix soap with water in a separate container before adding it to the foam gun. |
| Dilution Ratio | Use a 1:4 ratio of soap to water for strong foam. |
| Agitation | Shake or stir the mixture to guarantee even distribution. |
| Water Temperature | Warm water helps dissolve soap better, enhancing concentration. |
| Test Foam | Always test a small area first to adjust concentration as needed. |
Apply Even Coverage
Achieving even coverage when applying foam is essential for an effective car wash. To master foam application techniques, follow these foam coverage tips:
- Start High: Begin spraying from the top of the vehicle and work your way down. This way, gravity helps spread the foam evenly.
- Overlap Passes: Move the foam gun in overlapping passes to avoid missed spots and ensure consistent coverage.
- Adjust Nozzle: Experiment with the nozzle settings to find the perfect spray pattern for your car’s surface.
- Use Steady Motion: Keep a steady, sweeping motion to distribute foam evenly. This helps avoid concentrated areas that can lead to streaks.
Techniques for Applying Foam Evenly
To apply foam evenly, start by ensuring your car’s surface is clean and dry. This sets the stage for effective foaming techniques. Fill your foam gun’s reservoir with Gold Class Car Wash and adjust the dilution ratio according to the manufacturer’s instructions.
When you’re ready, hold the foam gun about 18 inches from the surface. Begin spraying at the top of the vehicle and work your way down, overlapping each pass slightly for consistent coverage. Use a side-to-side motion rather than a circular one to prevent streaking.
If you notice any areas that need extra attention, go back and apply a second layer of foam. For best results, remember these application tips: apply foam in a shaded area to prevent it from drying too quickly, and keep the foam gun moving to avoid pooling.
This will help you achieve that perfect, even layer of foam for a thorough wash.
How Long Should Foam Sit for Best Results?
How long should you let the foam sit for the best results? The foam duration can greatly impact how effectively it cleans your vehicle. For ideal setting, aim for around 5 to 10 minutes.
Here’s a quick breakdown to help you maximize your results:
- Surface Type: Softer surfaces may benefit from shorter foam durations, while tougher grime might need a full 10 minutes.
- Weather Conditions: In cooler temperatures, foam can sit longer without drying out. In the sun, you may need to rinse sooner to prevent streaks.
- Foam Thickness: Thicker foam tends to cling better, so allow it to sit longer for maximum effect.
- Dirt Level: Heavily soiled areas may require a lengthier foam duration to break down dirt and grime effectively.
Best Practices for Rinsing Foam
Once the foam has had enough time to work its magic, rinsing it off properly is essential for a spotless finish. Use effective rinsing techniques to guarantee all the foam consistency is removed, revealing a gleaming surface.
| Rinsing Technique | Description |
|---|---|
| Start from the Top | Rinse from the roof down to avoid streaks. |
| Use a Strong Spray | A focused stream helps dislodge stubborn foam. |
| Don’t Rush | Take your time to guarantee complete removal. |
| Work in Sections | Rinse one section at a time for thoroughness. |
| Check for Residue | Inspect for any foam left behind before drying. |
Drying Your Car After Washing
- Choose the Right Towel: Use a microfiber towel for best results. It absorbs water without scratching the surface.
- Start at the Top: Begin drying from the roof and work your way down. This way, gravity helps you out.
- Use the Pat Dry Method: Gently pat the surface instead of dragging the towel. It helps minimize the risk of scratches.
- Consider Air Drying: If you’re short on time, you can let your car air dry. Just be ready to deal with potential streaks.
How to Maintain Your Vehicle’s Shine With Gold Class Car Wash
Maintaining your vehicle’s shine with Gold Class Car Wash is easier than you might think. Start by washing your car regularly with Gold Class to remove dirt and grime that dull the surface. After rinsing, dry your vehicle with a microfiber towel to prevent water spots, ensuring your shine maintenance is on point.
Once your car is clean and dry, it’s time for wax application. Applying a high-quality wax after washing helps create a protective barrier, enhancing the shine and longevity of your vehicle’s finish. You can use a foam applicator for an even coat, focusing on one section at a time.
For best results, consider waxing every three months. This routine, combined with your Gold Class washes, will keep your car looking pristine. Remember, consistent care not only maintains your shine but also protects your investment in the long run. Enjoy that gleaming finish!
Frequently Asked Questions
Can I Use Gold Class Car Wash With a Pressure Washer?
Yes, you can use Gold Class car wash with a pressure washer. Its pressure washer compatibility makes it a great choice for a thorough clean.
Just dilute the soap according to the instructions and use a foaming technique to apply it. This method helps create a rich foam that clings to dirt and grime, making it easier to rinse away.
You’ll love how shiny your car looks afterward!
Is Gold Class Car Wash Safe for Waxed Surfaces?
Yes, Gold Class car wash is safe for waxed surfaces. It’s designed to improve wax durability and provide surface protection without stripping away your wax layer.
By using it, you’ll maintain that glossy finish while keeping your paintwork clean. Just make sure to follow the recommended dilution ratios, and you won’t compromise the wax’s effectiveness.
Enjoy washing your car without worrying about damaging your hard work!
How Often Should I Wash My Car With Foam?
If you think your car only needs a wash when it’s practically a mobile art gallery, think again! Ideally, you should wash your car every two weeks to keep it looking sharp. This frequency helps prevent dirt buildup and scratches.
Use proper washing techniques, like a foam gun, to make the job easier and more effective. Your car will thank you, and you won’t have to explain that “abstract” paint job to anyone!
What Are the Benefits of Using a Foam Gun?
Using a foam gun offers several advantages that improve car wash efficiency. It creates a thick layer of foam that clings to your vehicle, loosening dirt and grime without scratching the paint. This means you spend less time scrubbing and more time enjoying your ride.
Plus, the even distribution of soap guarantees every inch gets cleaned effectively. With a foam gun, you’ll achieve a professional-looking wash right at home, making it a smart choice.
Can I Mix Different Car Wash Soaps in the Foam Gun?
Mixing different car wash soaps in your foam gun can be a slippery slope, like trying to create a masterpiece with mismatched paint! Stick to one soap for the best results, as soap compatibility is essential for a strong, effective foam.
If you’re keen to experiment, always check the labels for compatibility. Foam gun tips suggest using the same brand to avoid unwanted reactions and guarantee your car shines like a diamond!
Conclusion
So, you’ve mastered the art of using Gold Class Car Wash with a foam gun, and your car looks stunning—almost too stunning for those rainy days ahead! Isn’t it ironic how all that effort goes into making your ride shine, only for it to face the elements right after?
But hey, at least you know how to bring back that showroom sparkle. Just remember, a little love and care goes a long way, even in the rain! Using Gold Class Car Wash with a foam gun definitely helps keep your car looking its best no matter the weather.